Welcome all to the next entry in our Metroid Prime 2: Echoes walkthrough.
After your venture through the post-crash landing prologue area, you'll take in a short cutscene showing off the scenery of the newly discovered Temple Grounds; we emphasise short because there's not much to look at. We'll also be entering a very important area of the game, the Great Temple.

Head up the path past the large box and towards a large door, watching out for local bugs that want to cause you trouble, of course.

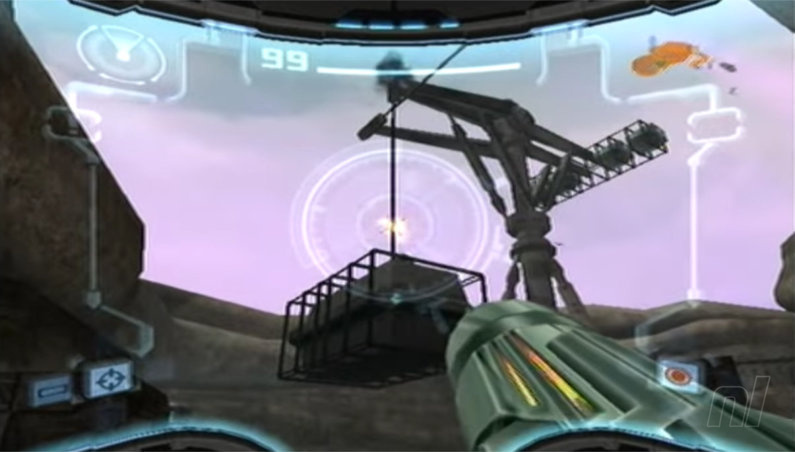
Scanning the control panel on the right-hand side will drop the crate you moved from the previous area, but it will get stuck halfway there. Nothing's ever easy, is it? Aim for the rope holding it up and fire to free the box. Using it as a platform, jump across the gap and continue on your way.
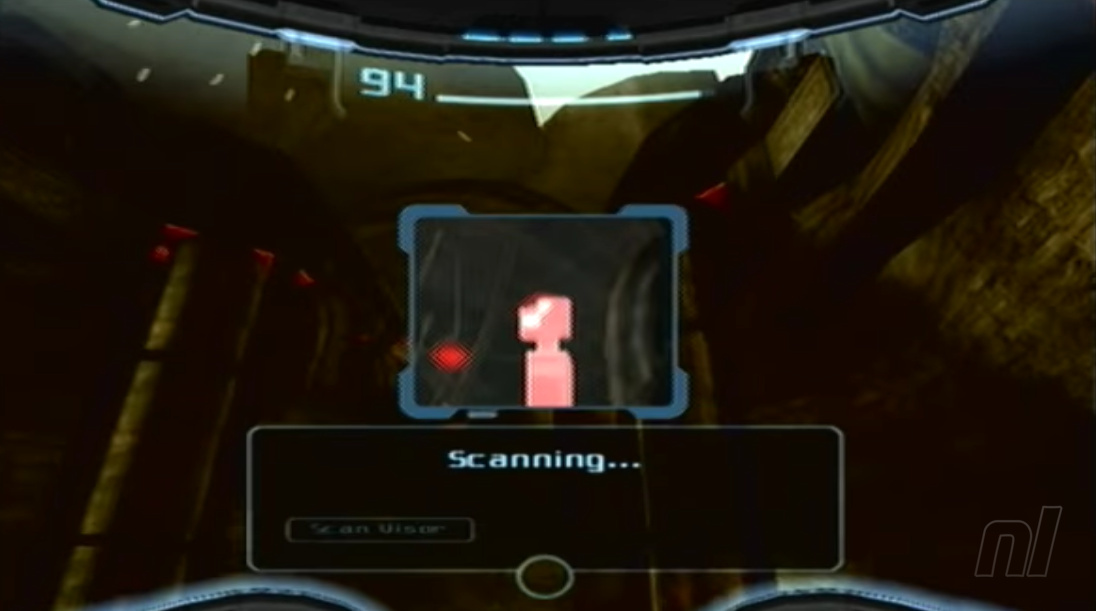
Scan Entry - GF Gate Mk VII
As you head through the door into the tunnel, look up with your scan visor to find the GF Gate Mk VII, give it a quick scan, and add it to your logbook before setting off.
Heading on through the cave, you'll come across another gate; scanning the panel just to the left of it will make it open but, at the same time, will close off the cave behind you. It's sort of like one of those walkthrough animal areas at the zoo, except we're fighting for our lives, not petting the Lemurs. Speaking of animals, some Splinters will attack your ankles once the door is closed - give them a good blast and move onward.
Scan Entry - PFC L. Brouda
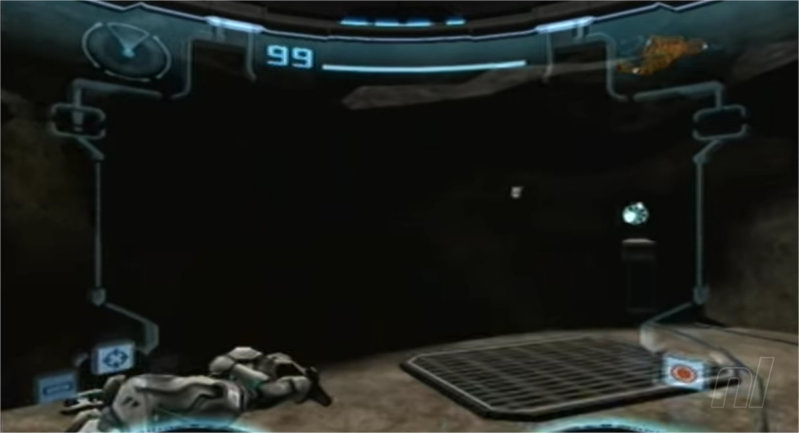
Going through the door into a new area, stay on the path and you'll find PFC L. Brouda lying in the same position we all wake up in on a Monday morning. Scan them for a new lore entry, then let them get their beauty rest. All these soldiers we've found so far are just asleep, right?
Scanning the nearby panel will activate the array in an attempt to contact the outside world to help us, to no such luck, we carry on. Beware of the Dark Troopers in the following room as you proceed through a linear tunnel.
Scan Entry - Growler Class Turret
Continuing through the tunnel, an opening will reveal a room full of Splinters being gunned down by a Growler Class Turret, watch out because it'll also take aim at you! Be sure to scan it for a logbook entry before blasting it away.
Scan Entry - SPC M. Angseth
After defeating the turret, you seemingly find yourself stuck with a gate with no panel to scan. Simply morph into a ball and head on through a small opening to find the control panel as well as SPC M. Angseth. Scan them for another logbook entry before scanning the panel to open the gate, well, somewhat. The gate will stop halfway and keep moving up and down; try your best to get the timing down. As a ball, roll through the opening it makes to progress.
Scan Entry - GFS Tyr
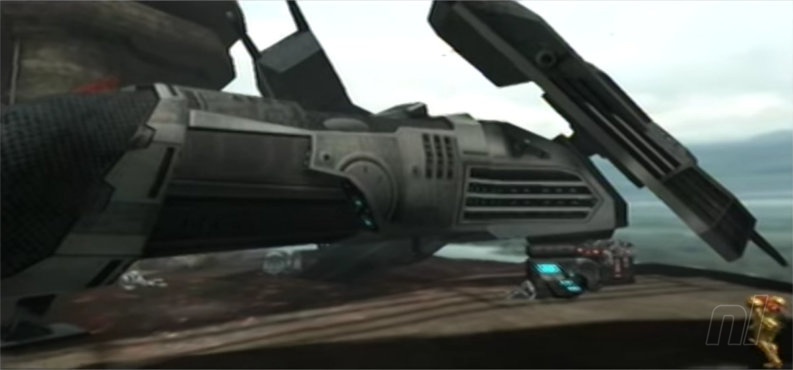
Going forward we find the Federation Troops' ship, the GFS Tyr, and are treated to a cutscene displaying their impressive, if not brief, show of bravery before being overrun with dark creatures. Now we know who called us here for help, but we should get to know them.
Scattered around the ship will be the remains of the soldiers who called us to help. Be sure to scan all of them for their logbook entries.
Scan Entry - CAPT A. Exeter
Next to the large panel by the ship you'll find CAPT A. Exeter. The one who made the call to Samus.
Scan Entry - LCPL J. Brode
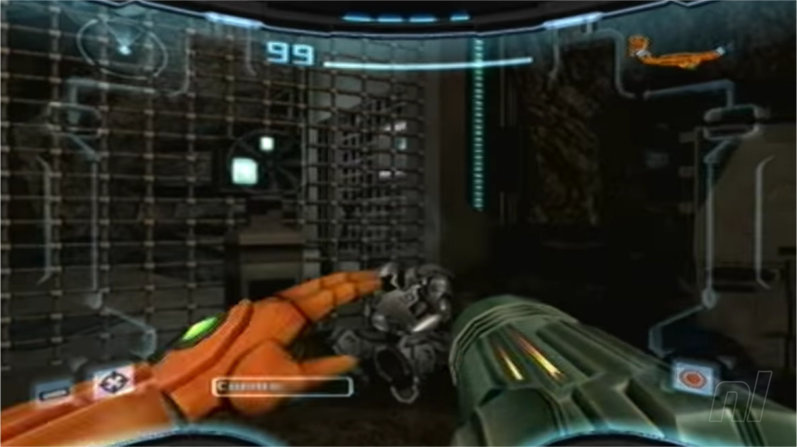
Just behind you, near a yellow box, you'll find LCPL J. Brode's body. Give it a scan for their logbook lore entry and find out that they're the stingy type.
Suit Upgrade - Missile Launcher
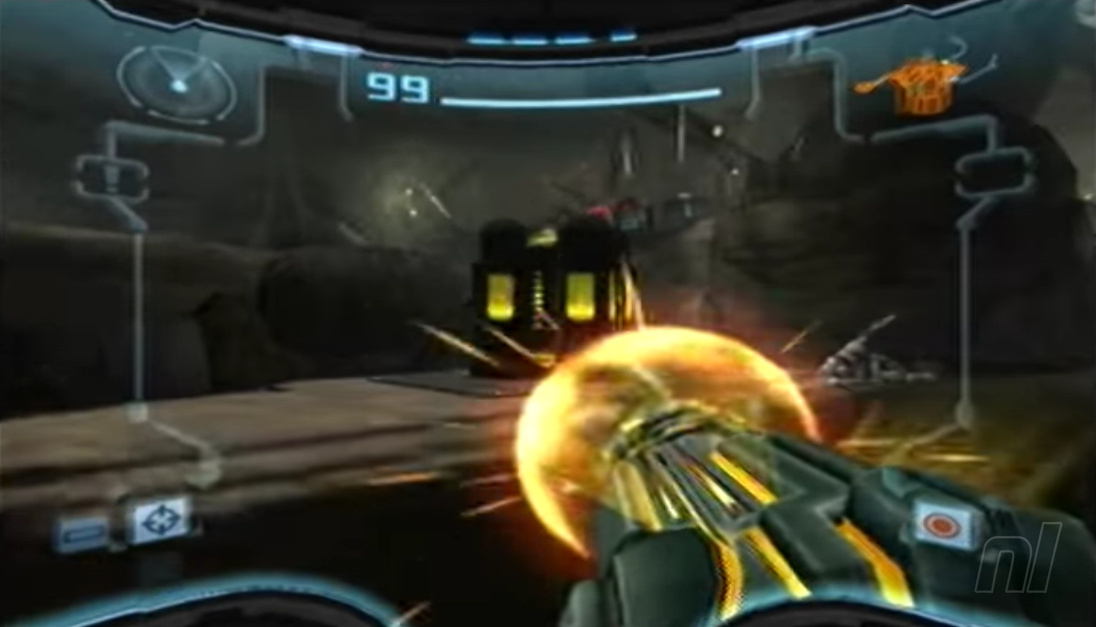
Destroy the large yellow box with a charge beam blast, and you’ll find Samus’ trusty Missile Launcher, an upgrade for her suit, now Samus can fire missiles again! Don’t worry, you’ll soon have a chance to test it out.
Scan Entry - Dark Splinter
As soon as you pick up the Missile Launcher, a group of Dark Splinters will appear and attack Samus! Be sure to scan at least one before blowing them all up.
Take a search around the ship for the remaining bodies of the three troopers around the ship.
Scan Entry - PFC G. Haley
If you take the time to read PFC G. Haley’s lore entry, you’ll see a chilling message of terror of their time on the planet Aether.
Scan Entry - PFC S. Milligan
Checking out PFC S. Milligan’s final logbook entry will give you a glimpse of his final moments.
Scan Entry - SPC F. Triplette
Scanning SPC F. Triplette’s entry will tell you that even in space, people dislike their co-workers.
After that pleasant scene, head into the ship via the ramp; you’ll find the map to the area inside the room directly in front of you.
Turn around and you will see a large hole in the right side of the ship, jump through it to progress.
Scan Entry - PFC I. Crany
Briefly stop and look over the area at the other side to find PFC I. Crany’s body, and scan them to gain their lore entry. If you read it, you’ll find out that our trooper here didn’t believe that Samus is real. Nor Santa or Bigfoot.
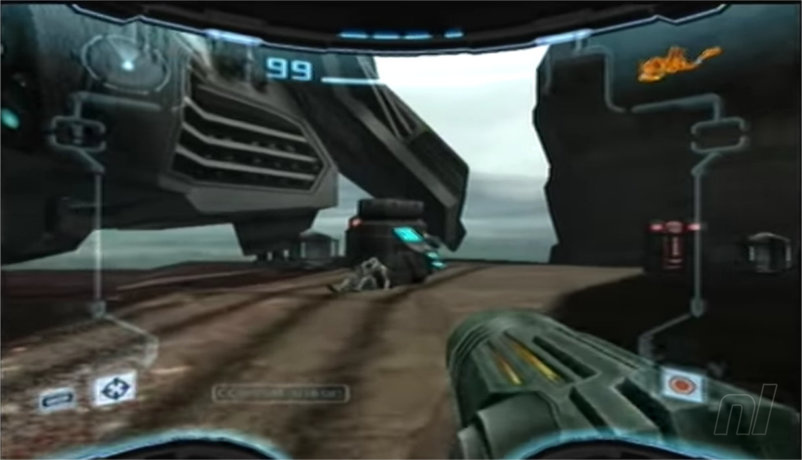
Scan Entry - Kinetic Orb Cannon

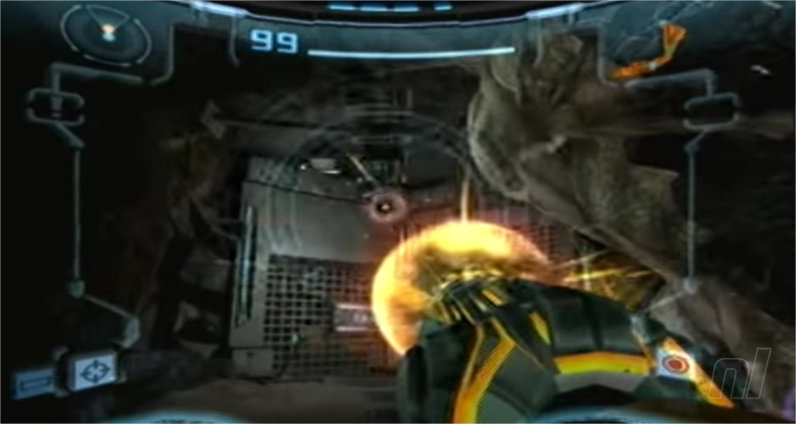
Moving onward, you’ll come across what we can only assume is an alien manhole cover. Give it a scan for the logbook entry, and you’ll find out it’s the Kinetic Orb Cannon. Scan the nearby control panel to turn it on, then morph into a ball and go into the hologram. You’ll be shot to the other side of the area.
On the other side, there will be a red door, this means the door is blocked by a blast shield. Fire a Missile at the door to open it and proceed. There is a hole next to the door, but we’ll come back to this later.
Scan Entry - PFC E. Denys
Going through the door you’ll see a fork with PFC E. Denys on the left blocking the way, scan them for their lore entry in the logbook and roll on through the hole on the right.
Scan Entry - War Wasp
After dropping through the hole you find yourself in a room with a handful of War Wasps, you’ll dispense of them easily enough. Just remember to lock onto them because they flutter about quite a bit.
Now you’ll think you’re stuck, but there will be a Kinetic Roll Cannon; look up and away from the direction you landed in the hole to find the control panel to turn the cannon on and escape!
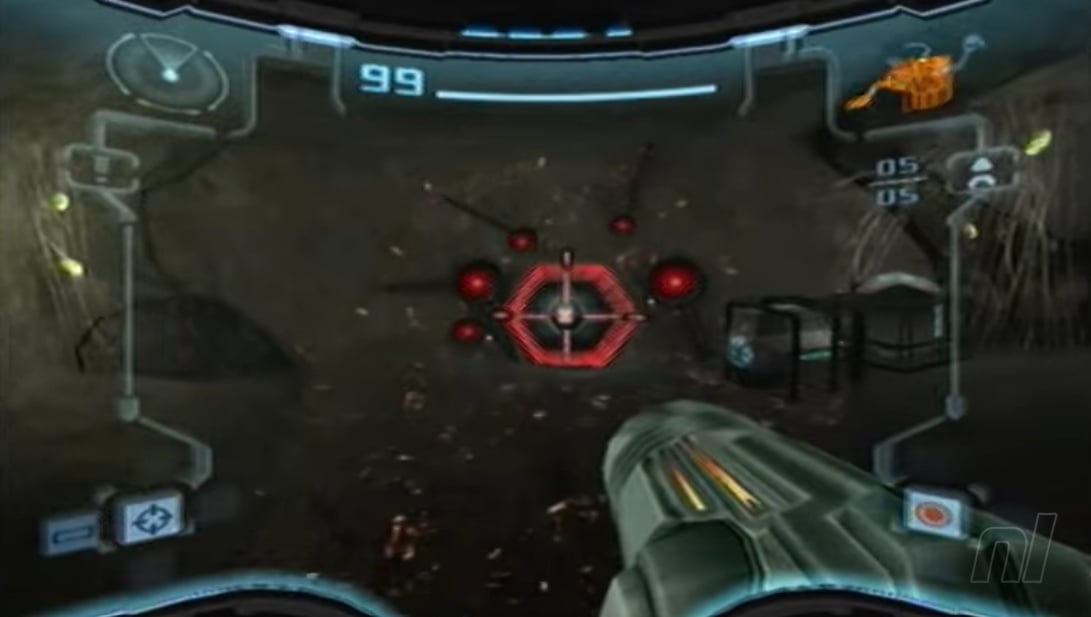
Scan Entry - War Wasp Hive
Proceeding onward, you come to a clearing on the surface. As soon as you enter, on the right and left sides of the wall, you’ll find a War Wasp Hive. Give it a scan for its logbook entry before blasting it away with a Missile - those War Wasps won’t be bothering you anytime soon.
Be sure to look left and up at a crack in the wall, fire a missile at this crack to damage it, and we’ll come back to it momentarily.
Proceed right to the corner to find another Kinetic Orb Cannon, the control panel is hidden away in the dark corner.
Roll onto the cannon, and you’ll be fired into the cracked wall we damaged with a missile earlier. Onward, you’ll find a small hole, roll through it as a ball and along a neat little morph ball railway to come out the other side.
Head through a doorway and you’ll find an elevator, activate it with the control panel to be shot up to a new area. See you later Temple Grounds we'll surely see you again soon! Everyone say howdy to the Great Temple.
The Great Temple and Onwards
When we last left our heroine, she was shot up by a rocket-powered elevator to who knows where. That ‘who’ would be us, we know where. Load up your missile launcher, and let’s resume our adventure by exploring the Great Temple!
After taking the elevator, go through the door, passing two dead aliens to find a large spinning wall, and follow the cables powering it, this will lead you to a save point.
Roll through a hole and you will find a save point. After saving, roll back out and go through the door to continue on your journey.
Scan Entry - Alpha Splinter and Dark Alpha Splinter
After the cutscene, you spawn in a room with some dark splinters, do away with them. After they’re defeated, an Alpha Splinter drops from the ceiling, starting the first boss fight of Metroid Prime 2: Echoes; make sure you scan it for a logbook entry.